How to Perform Basic Maintenance on Your Jeep JK: A Beginner's Guide
Jeep JK maintenance includes monthly fluid checks (oil, coolant, brake, power steering), tire rotations every 5,000-7,000 miles, air filter inspection every 15,000 miles, and regular brake inspections. A consistent schedule prevents costly repairs and keeps your Wrangler trail-ready.
Most JK owners think maintenance requires mechanical genius. It doesn’t. It requires showing up consistently with a flashlight and ten minutes of focus.
I didn’t grow up wrenching on cars. In Switzerland, you take your car to the dealer and pay whatever they ask. Moving to Cape Town and buying a Jeep forced me to learn — partly out of interest, partly out of necessity. My first DIY job was an oil change. Sounds simple — it is simple — but I still managed to overtighten the drain plug the first time. Torque specs exist for a reason. Since then I’ve worked up to brake pads, fluid flushes, spark plugs, and basic suspension work. Each job taught me something about the JK platform and built the confidence to tackle the next one.
This guide covers the foundation — the checks that prevent expensive failures and catch problems while they’re still cheap to fix. You’ll learn what to check, where to look, and when to worry. No dealer required.
Why Basic Maintenance Matters More Than You Think
Skip an oil change and you’ll probably get away with it. Skip five and you’re cooking sludge into your valve train. Ignore that squealing brake pad and you’ll grind through the rotor — suddenly a $120 pad job becomes an $800 rotor replacement.
Maintenance compounds in both directions. Regular checks prevent failures. Skipped checks create them.
Every used Jeep has a story. Mine had a few it hadn’t finished telling yet. The radiator was done when I bought it — swapped it out clean. Then came the AC, which we discovered wasn’t working properly on a drive up to the Cederberg in 112°F heat, with our two-month-old baby boy in the back seat. Not ideal. Got that sorted the moment we got home. Then the big one: the cylinder heads. The 3.6L Pentastar’s heads were warped — a known issue on this generation. Rather than skimming them again, we sourced brand new replacement heads. It’s done right, or it’s done twice. None of this was glamorous. But it’s the foundation. You can’t put 35” mud tyres on a Jeep with blown head gaskets and call it an overland rig.
Here’s the math: $50 worth of fluids and filters every few months vs $2,000 for a radiator replacement after you cook the engine. A $30 air filter vs $400 for throttle body cleaning when dirt gets past a clogged element. Prevention isn’t just cheaper — it keeps your JK safe and trail-ready when you need it most.
Regular maintenance also turns you into a diagnostic tool. You’ll notice when coolant drops faster than usual (leak developing), when brake fluid darkens (moisture contamination), or when oil smells like fuel (injector issue). Catching these early prevents the catastrophic failures that strand you on the trail or leave you with a four-figure repair bill.
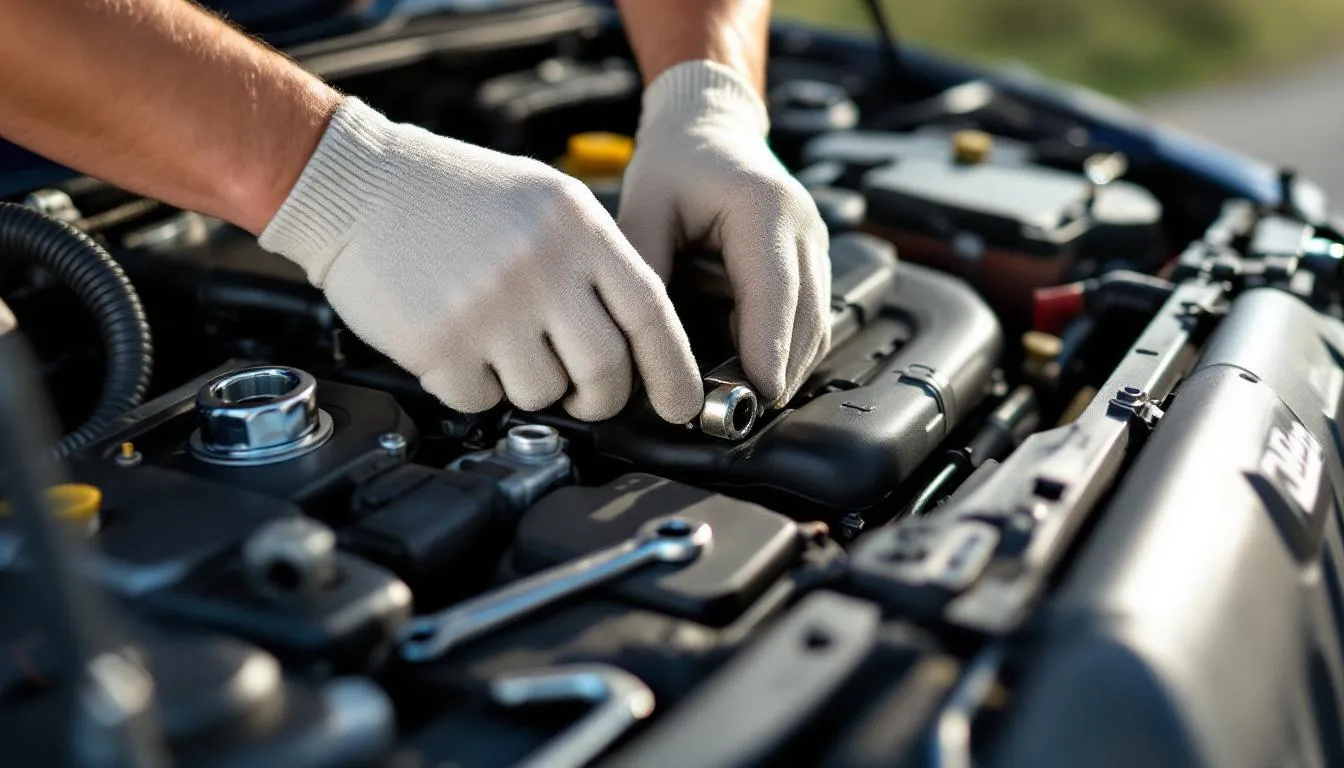
Monthly Fluid Checks: Your First Line of Defense
Most JK problems announce themselves through fluids before they become expensive. A monthly check takes ten minutes once you know where everything is — twenty the first few times.
Here’s your checklist:
Engine Oil (Dipstick): Located on the driver side of the engine. Check when cold or after sitting five minutes. Pull the dipstick, wipe it clean with a shop towel, reinsert fully, then pull again for an accurate reading. Oil should sit between the MIN and MAX marks. Color matters too — golden-amber is fresh, dark brown means you’re approaching change interval, black with grit means overdue. If it smells like gas, you’ve got an injector problem.
Coolant (Reservoir): Driver side near the firewall, translucent plastic tank with orange or pink fluid (depending on year). Check level against MIN/MAX marks when engine is cold — never open the radiator cap when hot unless you enjoy third-degree burns. Level should stay consistent month to month. Dropping level means a leak somewhere in the system. If the coolant looks milky or has oil floating in it, you’ve got a head gasket issue — address immediately. Mopar recommends HOAT coolant (Hybrid Organic Acid Technology) for all JK model years.
Brake Fluid (Master Cylinder): Driver side firewall, small rectangular reservoir with a yellow cap. Fluid should be clear to light amber and sit near the MAX line. Dark or murky fluid means moisture contamination (brake fluid is hygroscopic — it absorbs water from air). Low fluid could indicate worn brake pads (pistons extend further, using more fluid) or a leak in the lines. Either way, investigate.
Power Steering Fluid (Reservoir): Passenger side of engine bay, small cylindrical reservoir. Check level when engine is cold. Fluid should be reddish and transparent. Low level usually means a leak at the pump, rack, or high-pressure lines. If you’re topping off monthly, find the leak before the pump grenades itself.
Windshield Washer Fluid: Passenger side near fender. This one’s a freebie — just keep it full so you can clean bugs and trail dust off your windshield.
What Fluid Levels Tell You About Your JK’s Health
Consistent fluid levels = healthy systems. Dropping levels = investigate immediately. Track your readings in a simple logbook to spot trends before they become emergencies.
| Fluid Type | Normal Behavior | Warning Signs |
|---|---|---|
| Engine Oil | Minimal drop between changes | Dropping 1+ quart per 1,000 miles = piston ring wear or valve seal leak |
| Coolant | Stable at MAX line | Any drop = leak (hoses, radiator, water pump, head gasket) |
| Brake Fluid | Slowly drops as pads wear | Rapid drop = line leak; dark color = moisture contamination |
| Power Steering | Stable near MAX | Any drop = leak at pump, rack, or lines |
Pro tips: Use a flashlight to see reservoir markings clearly in the engine bay’s shadows. Wipe dipsticks twice for accurate readings. Check fluids at the same time each month so you establish a baseline for what’s normal in your specific JK. Keep a small notebook in your glove box to log levels and dates — if you spot a trend (coolant dropping steadily), you’ll catch the problem before it becomes a roadside emergency.
Tire Rotation: Extend Tread Life and Improve Handling
Tires wear unevenly. The JK’s weight distribution, your driving habits, and whether you’re running 4WD or 2WD all affect how rubber wears. Rotating every 5,000-7,000 miles evens out the wear pattern and can add 10,000-15,000 miles to your tread life. That’s real money — a set of 33” all-terrains runs $800-1,200.
Rotation Interval: Every 5,000-7,000 miles or every six months, whichever comes first. Tie it to your oil change schedule and you’ll never forget. If you regularly hit dusty trails or drive in sand, inspect more often — JK tires eat rocks and sharp trail debris.
Rotation Pattern: If you’re running a full-size spare and it matches your other tires, use the five-tire rotation. The pattern: left front to right rear, right front to left rear, left rear to spare position, right rear to left front, spare to right front. Sounds complicated but it’s just a forward cross with the spare cycling through.
If you’re NOT rotating the spare (or it’s a different size), use the standard four-tire cross pattern: left front to right rear, right front to left rear, left rear to right front, right rear to left front.
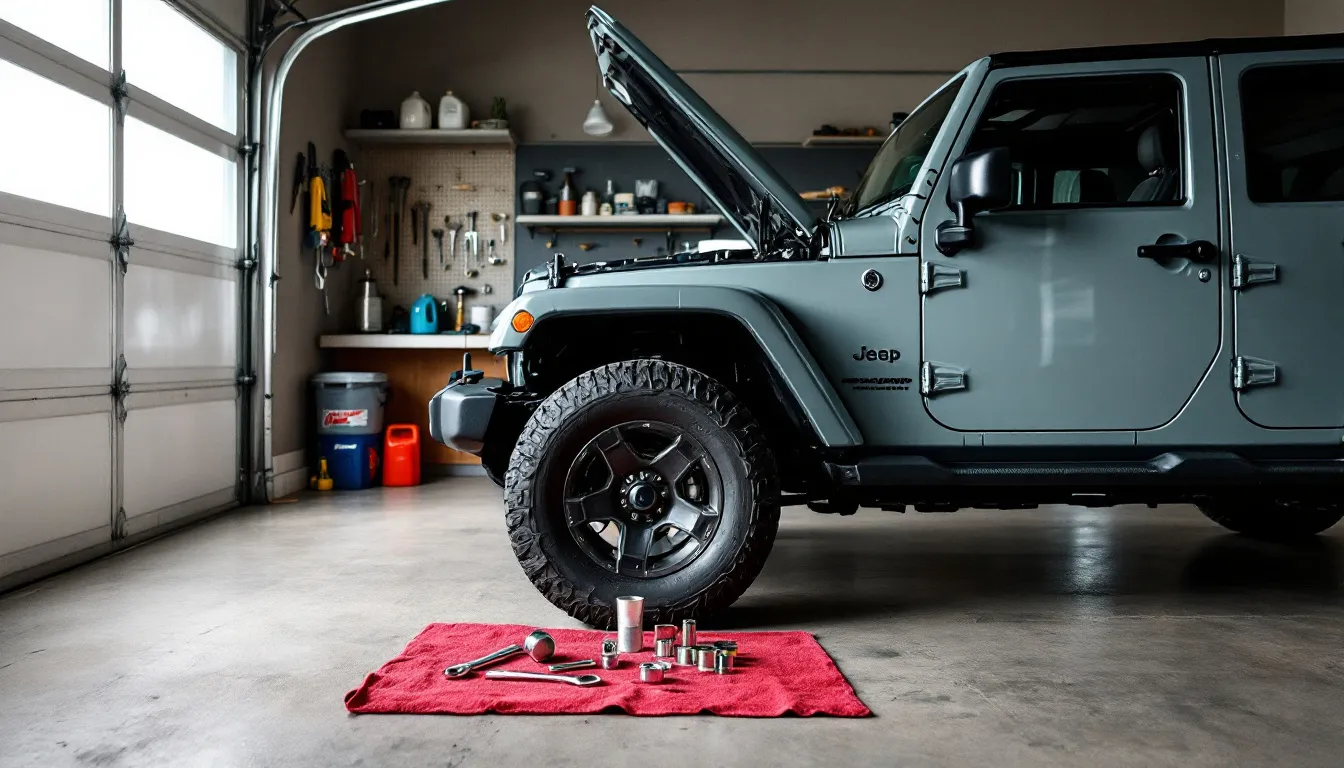
Practical Steps: Jack one corner at a time using the frame rail (never the body — you’ll dent sheet metal). Place a jack stand under the frame before you touch the wheel. Chock the opposite wheels so the Jeep doesn’t roll. Remove lug nuts in a star pattern, rotate the tire to its new position, reinstall lugs finger-tight, then torque to spec (95-130 ft-lbs depending on year and wheel type — check your door jamb sticker).
Never work under a Jeep supported only by a jack. Ever. Physics doesn’t care about your optimism.
JK-Specific Considerations: Four-wheel drive wears rear tires faster because the transfer case sends more torque rearward in normal driving. If you’re running oversized tires (33” or larger), rotation becomes even more critical — the added rolling mass accelerates wear. Rotating also gives you a chance to inspect for sidewall damage, embedded rocks, or slow leaks that might leave you stranded mid-trail.
Combine rotation with a brake inspection and tire pressure check for maximum efficiency. You’ve already got the wheels off — might as well look at everything while you’re there.
Air Filter Inspection: A 5-Minute Check That Saves Your Engine
A clogged air filter chokes your JK’s performance and fuel economy. It’s also one of the easiest maintenance tasks you’ll ever do — five minutes, no tools required beyond your hands.
Inspection Interval: Every 15,000 miles for mostly pavement driving. Every 5,000-10,000 miles if you regularly hit dusty trails or off-road. Desert and sand conditions are murder on air filters — I’ve seen filters completely caked after a single weekend in Moab-style terrain.
How to Inspect: Locate the air filter box on the driver side of the engine bay — black plastic housing with metal clips. Pop the clips (they’re spring-loaded, no tools needed), lift the lid, and pull out the filter. Hold it up to a light source. If you can’t see light through the pleats, it’s restricting airflow and needs replacement or cleaning.
Also check for tears, holes, or oil saturation (if you’re running a K&N-style reusable filter). Any damage means dirt is bypassing the filter and entering your intake tract — replace immediately.
What a Dirty Air Filter Costs You
A clogged air filter can reduce fuel economy by up to 10% and throttle response by 15-20%. [STAT: EPA or automotive study on air filter impact on fuel economy]
Consequences of a Clogged Filter: Reduced throttle response (engine starves for air), worse MPG (sometimes 2-3 MPG loss), potential MAF sensor contamination from dirt getting past the filter, and in extreme cases the engine runs rich and fouls spark plugs. All avoidable with a $15 paper filter or a quick cleaning of a reusable.
Replacement vs. Cleaning: Disposable paper filters get replaced ($15-30 at any auto parts store). Reusable filters (K&N, AEM, S&B) get cleaned with a specialized kit ($15 for cleaner and oil) — spray, rinse, let dry, re-oil, reinstall. Reusables save money long-term but require the discipline to actually clean them.
Pro tip: If you’re planning a dusty trail run, inspect before and after the trip. Carry a spare filter if you’re heading into serious desert terrain — I’ve had to change filters mid-trip after particularly gnarly sandstorms.
Recommended Air Filters:
Brake Inspection: Catch Pad Wear Before It Becomes a Rotor Problem
Brakes don’t fail gracefully. They announce their decline with squealing, grinding, or pedal pulsing — all signals you should never ignore. The good news: inspecting brake pads takes five minutes during a tire rotation, and catching wear early saves hundreds.
Inspection Interval: Visually check brake pads every tire rotation (5,000-7,000 miles). Full inspection every 20,000 miles or at any sign of noise, vibration, or spongy pedal feel. If you’re towing or running heavy off-road, check more often — JKs with bigger tires and armor plating eat brakes faster.
Visual Inspection: Look through the wheel spokes at the brake caliper and pad. You should see at least 3-4mm of pad material visible. Less than 2mm means replacement is imminent. If you can’t see the pad easily, remove the wheel during rotation — you’re there anyway.
Auditory Signals: Squealing usually means the wear indicator (a small metal tab on the pad) is touching the rotor — you’ve got a few hundred miles left before damage starts. Grinding means metal-on-metal contact — the pad backing plate is scoring the rotor, and you’re looking at rotor replacement on top of pads. That’s an $800+ job instead of a $120 pad swap.
Pedal Feel Test: Firm pedal under braking = good. Spongy or sinking pedal = air in the lines or fluid leak (bleed system or find leak). Pulsing pedal under braking = warped rotors, often from overheated brakes on steep descents. If you’re descending technical trails without engine braking in low range, you’re cooking your brakes — learn to downshift and let the drivetrain slow you instead.
I learned this lesson on a steep descent outside Ceres. Rode the brakes the whole way down instead of dropping into 4-Low. By the bottom, the pedal was pulsing and the rotors were blue from heat. Cost me a full rotor replacement and a valuable education in proper trail braking technique.
Understanding JK Brake Wear Patterns
Factory JK brakes are adequate for stock configurations but undersized for heavy modifications. According to brake manufacturer EBC, adding 35” tires and steel bumpers increases braking distance by 20-30% and accelerates pad wear by approximately 40%.
| Modification | Brake Wear Increase |
|---|---|
| 33” tires | +15-20% |
| 35” tires | +30-40% |
| Steel bumpers (front + rear) | +25-35% |
| Winch + armor package | +40-50% |
JK-Specific Considerations: Heavy Jeeps with bigger tires wear brakes faster — more rotational mass to stop. Towing accelerates pad wear even more. If you’re running 35” tires and a full load of camping gear, check brakes every 5,000 miles religiously.
Brake Maintenance Tools:
Building a Maintenance Habit That Actually Sticks
Knowledge without execution is just trivia. The challenge isn’t learning what to check — it’s remembering to actually do it consistently.
Tracking System: Digital or analog, pick what works for you. Digital: set recurring phone reminders for “Check JK Fluids” on the first of each month. Use a simple spreadsheet to log dates, mileage, and any issues spotted. Analog: keep a logbook in your glove box and update it after every check. Oil change stickers on the windshield work too — low-tech but effective.
The key is consistency, not complexity. A missed month won’t kill your Jeep, but six missed months might.
Piggyback on Existing Routines: Check fluids every time you fill up gas. Inspect the air filter during oil changes. Rotate tires every other oil change. Linking maintenance to established habits makes it automatic instead of aspirational.
I keep a repair journal now — what I did, what torque specs I used, what I’d do differently. It’s become one of the most valuable documents I own. When I’m researching a product or writing a guide for this site, I reference that journal. Your JK’s quirks are unique. Document them.
How Often Should You Really Check Everything?
The debate over maintenance intervals is endless. Here’s what actually works based on real-world JK ownership patterns:
Monthly: Engine oil level, coolant level, brake fluid color, power steering fluid level, tire pressure, visual underhood inspection for leaks.
Every 5,000-7,000 miles: Tire rotation, brake pad inspection, air filter check (dusty conditions), battery terminal cleaning.
Every 15,000 miles: Air filter inspection (normal driving), cabin air filter replacement, serpentine belt inspection, coolant hose inspection.
Every 30,000 miles: Transmission fluid check, differential fluid check, transfer case fluid check, spark plug inspection (3.6L).
Seasonal Deep-Check: Spring (pre-summer road trips) and fall (pre-winter) are natural times to go through the full checklist. Inspect hoses for cracks, belts for fraying, battery terminals for corrosion, and undercarriage for rust or damage. These twice-yearly deep dives catch the problems monthly checks miss.
Use Maintenance as Learning: Every check teaches you more about your specific JK’s quirks — what ‘normal’ looks and sounds like, and when something feels off. That intuition is invaluable on the trail when something starts acting weird and you need to decide whether to push on or turn back.
It’s not about perfection. It’s about catching 80% of issues before they become expensive. That’s the habit worth building.
Common Beginner Mistakes to Avoid
Most beginner maintenance mistakes are avoidable with a torque wrench, the right fluids, and respect for basic safety. Here’s what to watch for:
Overtightening Everything: Drain plugs, oil filters, lug nuts — beginners tend to crank them down like they’re anchoring the Jeep to bedrock. Problem is, threads strip, filters crush, and studs snap. ‘Tight enough’ is usually less than you think. Invest in a torque wrench ($40-80) and use the manufacturer’s specs. Your future self will thank you when you’re not drilling out a snapped drain plug.
Using the Wrong Fluids: JK-specific examples matter here. Wrong weight oil for your climate (5W-20 in Arizona summer heat will shear down fast). Mixing coolant types — orange (OAT) and green (IAT) don’t play nice together and form sludge. Using non-DOT 3/4 brake fluid (DOT 5 is silicone-based and incompatible — you’ll destroy seals). Check your owner’s manual for exact specs. Most are available free online as PDFs if you don’t have the physical copy.
What ‘Hand-Tight Plus a Quarter Turn’ Actually Means
According to Mobil 1’s installation guide, over-torqued oil filters account for thousands of filter housing failures annually. The correct spec for most spin-on filters: hand-tight until the gasket contacts the mounting surface, then 3/4 to 1 full turn with a filter wrench. That’s it. More than that risks crushing the gasket or cracking the filter housing.
Skipping Safety Precautions: Working under a Jeep supported only by a jack is how people die. Always use jack stands. Always. Checking fluids with the engine running sounds convenient until hot oil burns your hand. Opening the radiator cap on a hot engine can cause a coolant geyser that’ll send you to the ER. Patience prevents emergency room visits.
Ignoring the Owner’s Manual: It has the exact specs for your year — fluid capacities, torque values, maintenance intervals. Most JK owners never crack it open. That’s leaving money and reliability on the table. Download the PDF, save it to your phone, reference it every time you wrench.
Mixing Incompatible Fluids: This kills more JKs than trail damage. Never mix:
- Orange OAT coolant with green IAT coolant (forms corrosive sludge)
- Conventional oil with full synthetic without flushing (some conventional oils contain detergents that clash)
- DOT 3/4 brake fluid with DOT 5 silicone fluid (destroys rubber seals)
- ATF+4 transmission fluid with Dexron/Mercon types (clutch pack damage)
My first oil change taught me about overtorquing. The drain plug went in smooth, came out with half its threads missing. $80 later I had a new oil pan and a healthy respect for torque specs.
Slow down. Do it right the first time. Your JK will reward you with decades of reliable service.
Common Questions About JK Basic Maintenance
How often should I check my JK’s fluids?
Monthly for oil, coolant, brake fluid, and power steering fluid. Top off windshield washer as needed. Set a recurring calendar reminder for the first of each month — make it automatic. If you’re prepping for a long trip or trail run, do an extra check the day before. Low coolant before a remote trail is a disaster waiting to happen.
Can I rotate my own tires without a lift?
Yes. You’ll need a quality floor jack (3-ton minimum for a JK), four jack stands rated for the weight, and a torque wrench. Use the frame rail jack points (never the body). Chock the wheels you’re not lifting. It takes 30-45 minutes once you’re familiar with the process. First time might take an hour. Watch a YouTube video specific to JK jack points before you start — knowing where to place the jack prevents body damage.
What happens if I skip air filter changes?
Reduced throttle response, worse MPG (sometimes 2-3 MPG loss), and potential MAF sensor contamination. In dusty off-road conditions, a clogged filter can let dirt bypass the element and enter the intake tract. That dirt scores cylinder walls and wears piston rings. A $20 filter prevents a $3,000 engine rebuild. Check it every 15,000 miles at a minimum.
How do I know if my brake pads are worn out?
Visual: less than 2-3mm of pad material visible through the wheel spokes. Auditory: squealing means the wear indicator is touching the rotor (replace soon), grinding means metal-on-metal (replace immediately and expect rotor damage). Pedal feel: pulsing under braking indicates warped rotors, usually from overheated brakes. If you hear grinding, don’t drive the Jeep — you’re scoring the rotors deeper with every stop.
Do I need special tools for basic JK maintenance?
Not many. A good floor jack, four jack stands, torque wrench, oil filter wrench, and basic socket set cover 90% of basic maintenance. Total investment: $150-250 for quality tools that last years. Add a drain pan, shop towels, and a flashlight. That’s your starter kit. You can always add specialized tools (brake caliper tool, serpentine belt tool) as you tackle more advanced jobs.
Start Small, Build Confidence, Keep Your JK Running
Basic maintenance is a skill, not a talent. Everyone starts somewhere. My first oil change was a comedy of errors — overtorqued drain plug, oil everywhere, and a lingering fear I’d broken something. I didn’t. The Jeep ran fine. I learned.
Each check you do builds knowledge and confidence. You’ll start noticing things — a slight coolant smell that means the reservoir cap isn’t sealing, a brake pad that’s wearing faster on one side (sticky caliper slide), or oil that’s darkening quicker than usual (short-trip driving, never fully warming up).
Here’s your habit: monthly fluid checks, tire rotations every 5,000-7,000 miles, air filter inspections every 15,000 miles, and brake checks during rotations. That’s it. Do those four things consistently and you’ll catch 90% of problems before they strand you or empty your wallet.
Start with just one task. Pick the easiest — fluid checks — and do it this weekend. Next month, add tire rotation. Build the habit one step at a time.
The payoff: a well-maintained JK is reliable, holds resale value, and doesn’t leave you stranded on the trail or highway. You’ll have the satisfaction of knowing you kept it that way. And when something does go wrong — because something always does with a 10+ year-old Jeep — you’ll have the baseline knowledge to diagnose it quickly and fix it right.
Mechanical integrity before cosmetic ambition. Fix what’s broken, maintain what works, and your JK will take you anywhere you point it. That’s the foundation everything else builds on.
Get the Free JK Build Planner
Complete PDF with mod checklists, gear ratios, tire sizing charts, and budget worksheets. Everything you need to plan your JK build.
No spam. Unsubscribe anytime. By subscribing, you agree to our Privacy Policy.
Allan
I'm Allan. I bought a 2014 Jeep Wrangler JKU and I research the hell out of every mod before I touch it. Everything here is tested or deeply researched on my own rig - no sponsored fluff, just honest findings.
Learn more about me →Get the JK Build Planner
Free PDF with complete build checklists, gear ratios, and tire fitment guides.
By subscribing, you agree to our Privacy Policy.
Related Articles
Jeep JK Maintenance Schedule PDF: Complete Service Guide (All Years)
Complete JK maintenance schedule with intervals, fluid specs, and torque specs for 2007-2018 Wranglers. Severe duty intervals, DIY tips, and downloadable checklist.
2018 Jeep Wrangler JK Maintenance Schedule: Final Year Service Guide
Complete 2018 Jeep Wrangler JK maintenance schedule with severe service intervals, fluid specs, and cost breakdowns. Keep your final-year JK running strong.

2017 Jeep Wrangler JK Maintenance Schedule: Complete Service Guide
2017 Jeep JK needs 0W-20 synthetic oil every 5,000-10,000 miles, tire rotation every 5,000-7,500 miles, and differential service every 15,000-60,000 miles depending on use.